Engine Implementation
Step 1: Smart 365, comes with a .zip file (Smart365 V7.0.zip), unzip the file in your local directory where the integration engine will be installed, there you will find a folder with the same name (Graphic Engine_Img_1).Engine_Img_1

Step 2: Open the contents of the folder and run the setup (Graphic Engine_Img-2) file, an installation window (Graphic Engine_Img-3) will be displayed, wait for it to complete and then press Next (Graphic Engine_Img_4).Engine_Img_2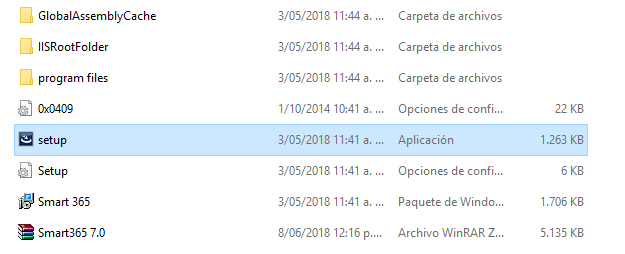
Engine_Img_3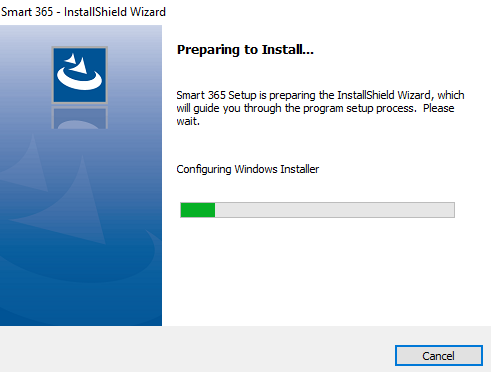
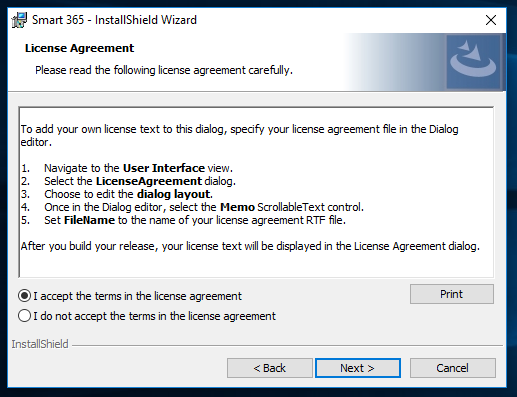
Step 3: The Contract will be displayed, accept the terms and conditions and press Next (Graphic Engine_Img_4).Engine_Img_4
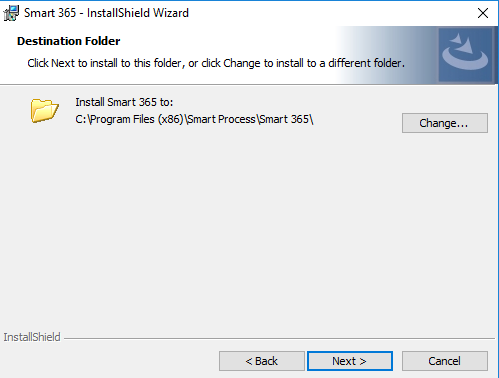
Step 4: Click Next to install to this folder (Graphic Engine_Img_5)Engine_Img_5
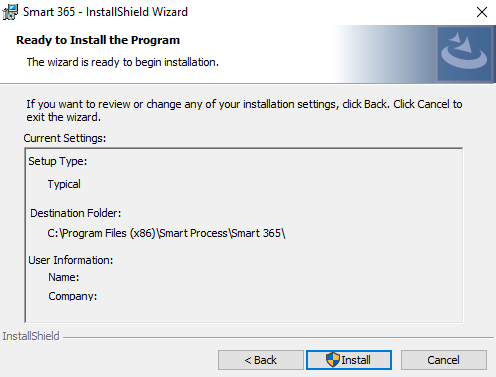
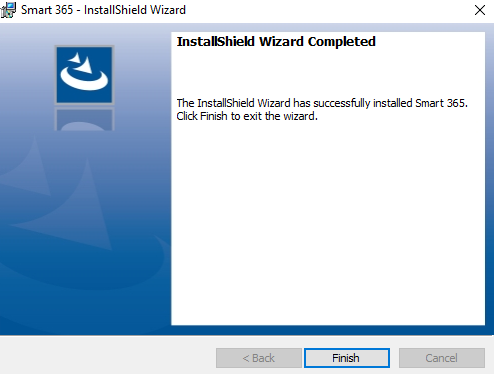
Step 5:Next, you will find the installation data (Graphic Engine_Img-6) press Install, you will be notified if the user can make changes to the equipment press Yes and wait for the product to be installed, You will find a screen (Graphic Engine_Img-7), where you are notified of the installation of the product, click Finish.Engine_Img_6
Engine_Img-7
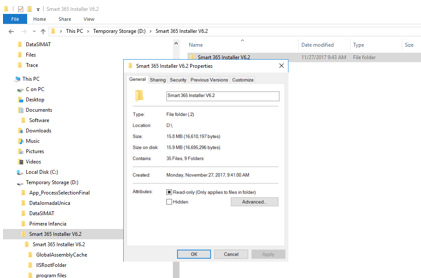
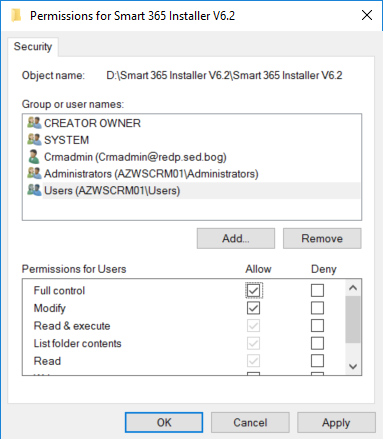
Step 6: After the installation is complete, we proceed to give permissions to the folder where the product was installed, for this we go to: \ Program Files (X86) \ SmartProcess (Graphic Engine_Img-10), there we right click on the Smart folder and Select Properties will open a window (Graphic Engine_Img-11), and press Edit, another window will open where we select Users in the first tab and give Total Control in the second tab (Graphic Engine_Img-12).Engine_Img-10
Engine_Img-11
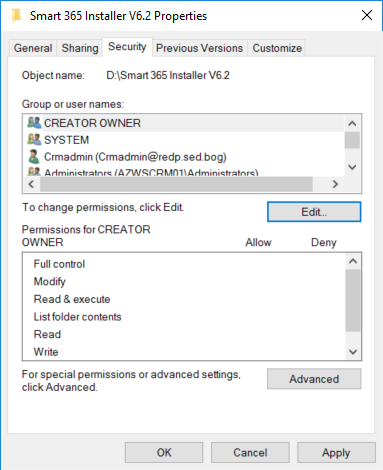
Engina_Img-12
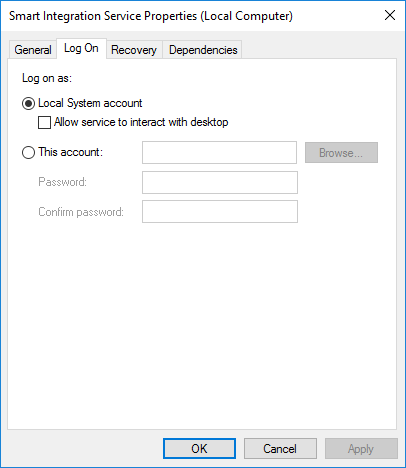
Step 7: In this moment the Integration engine has been installed correctly, to visualize the correct operation of the engine, we will check the service installed in the machine, for this we execute Windows services and we review the Integration Service SP (Graphic Engine_Img-13) That its state is initiated and type of Automatic start, we can change the user that executes the service, since this user will execute the integrations and therefore for certain connections (BD SQL, BD Oracle, etc) with Windows authentication the user of the Service will be the one that authenticates, therefore to change it double click on the service and change it in the screen Next (Graphic Engine_Img-14).Engine_Img-13
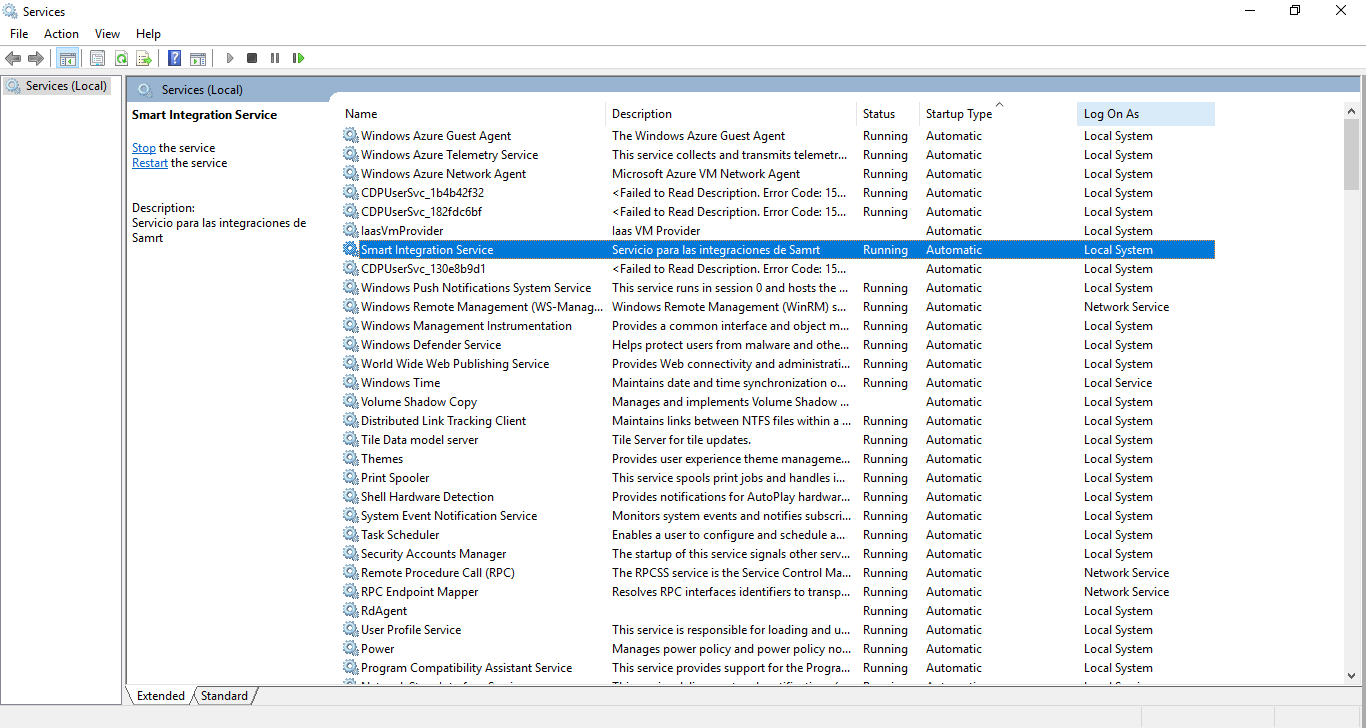
Engine_Img-14